Wow, the past few weeks have been slammed busy for me, but I DID manage to squeeze in some personal shooting time (instead of spending the time blogging). I headed down to Great Falls National Park to test out a theory I had. A company called Singh-Ray makes a very expensive product called the Vari-ND filter ($350), which basically allows you to control how much light actually comes through the front of your lens. It doesn't effect color, depth of field or grain, and it doesn't directly effect shutter speed, but the reason why it is cool is that you can use much longer shutter speeds than you normally would be able to otherwise. A normal neutral density filter is just a dark piece of glass that reduces a fixed amount of light, the Singh-Ray filter allows you to adjust as needed. After watching the little animation on their site I said to myself... "that has to be through polarization!" so I decided to try and test my theory in order to save myself the $350. I tried two circular polarizers, but it didn't work as I expected, so I did a bit of research to discover that to make your own variable ND filter you need a circular polarizer and a LINEAR polarizer on top of the circular.
The circular polarizer on the bottom allows your autofocus camera to still autofocus and meter somewhat accurately because a circular polarizer is made of two layers, the top which polarizes the light and then the bottom layer that scatters the light a bit to allow your phase detection autofocus sensor to work properly.
I ordered myself a linear polarizer and gave it a good field test and it works great with one little caveat. If you stop the light down all the way as far as you can with this setup, there is a significant color shift to the blue spectrum. This effect is only seen if stopped down to 8 or 9 stops, which is rarely needed. I told a friend of mine about this issue and he's trying to come up with a solution that eliminates this color shift, but until then give it a go if you need to do some long exposures.
Here's some of my favorites from the two times I went down to Great Falls National Park this week. Most of these exposures were between 6 and 15 seconds long, which is what causes the normally rough looking water to look so creamy and smooth. None of these images have touched Photoshop, just some basic curves and white balance adjustment in Lightroom. If you want to do this yourself and already have a nice circular polarizer, all you'll need is a cheap linear polarizer and you're good to go!
The full rez gallery and other photos are at www.noahhayes.net/greatfalls


This shows you how rough this water looked without the long exposures! This was without the Variable ND filter. These guys kept climbing up the hill and riding the rapids down. Maybe I should get an underwater enclosure for my D3 and try it sometime?


Also we stumbled upon a little snake that was nice enough (or scared enough) to actually let me swap out my telephoto for a 105 VR Macro to get up close and personal (about 5 inches away from the front of my lens!)


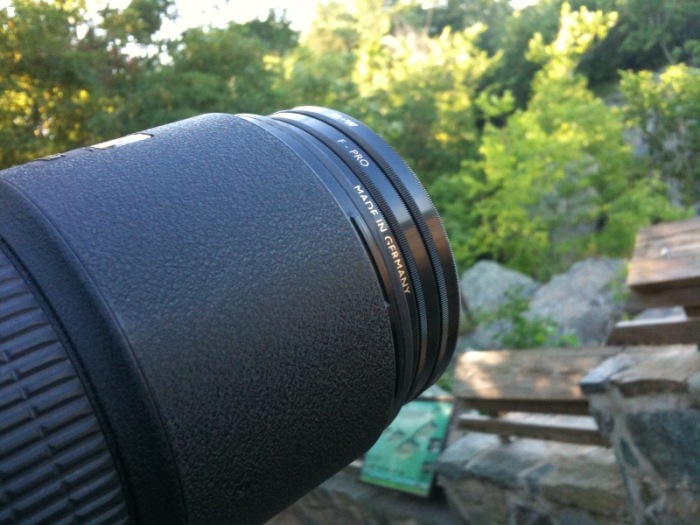 The Variable ND array of B+W (my favorite) filters. Taken with iPhone 3GS

